Hardware Troubleshooting
This guide will help troubleshoot some of the most common errors that a user might encounter using the system.
Application will not launch
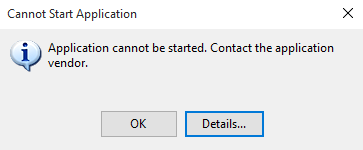
If you receive the following error message, follow the steps below to resolve the issue.

NOTE: The user performing the following tasks will need administrator privileges.
-
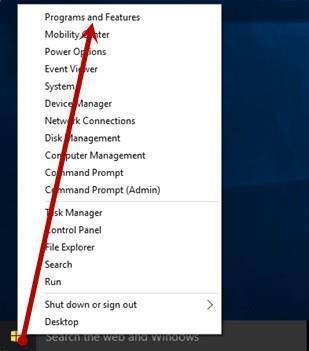
From the Start menu, select Programs and Features.
-
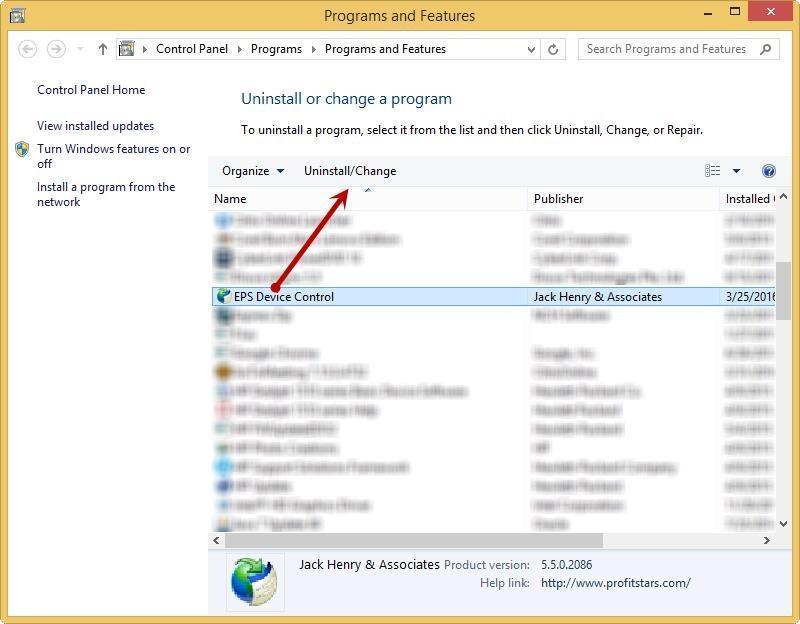
Select the EPS Device Control application and then select the Uninstall/Change option.
-
Login to Business Online Banking, navigate to the Activities & Reporting tab and select Remote Deposit – New from the dropdown menu. Click the Login to Remote Deposit – New button.
-
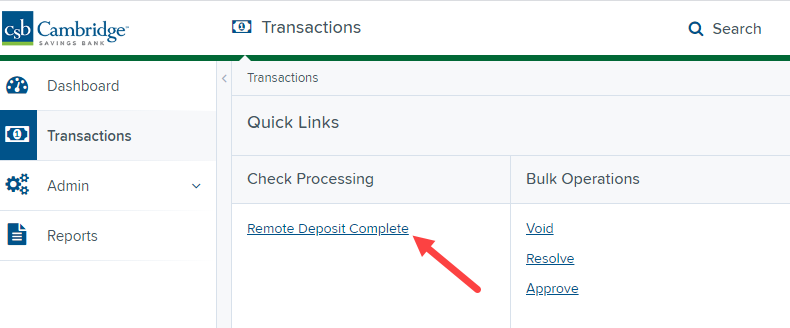
From the Remote Deposit Dashboard, click Transactions on the left side of the page. Under Check Processing, select Remote Deposit Complete.
- From the left navigational bar, attempt to launch/run Device Control by selecting your Remote Deposit option and creating a deposit. During this process, you will receive the following prompt to reinstall/launch Device Control.
Depending on your browser type, you will see one of the following prompts:


-
Select Install before creating a deposit.
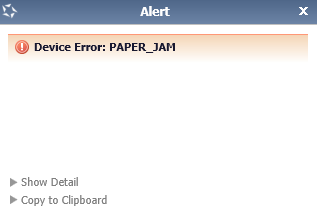
Check jam
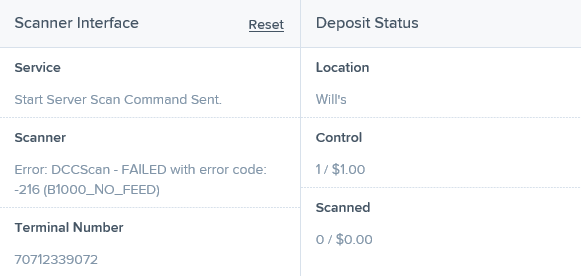
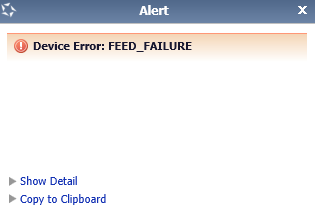
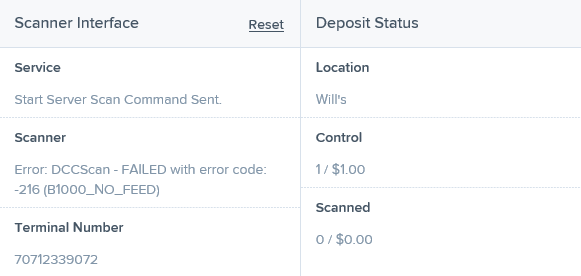
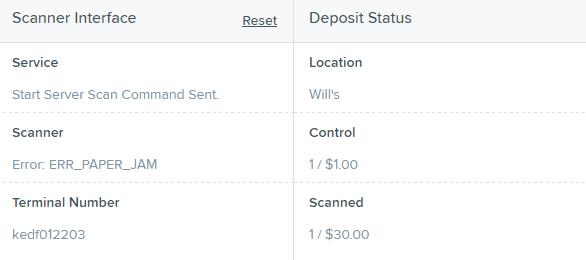
These errors display when a check jams during scanning. Remove the check from the scanner, select the Reset Scanner option, and then try scanning the item again.

"Choose a Device Manufacturer" Prompt Appears Every Time
If Device Control’s Choose A Device Manufacturer window appears every time you begin making a deposit, you may need to make alterations to your Internet browsing history options. Placing the URL in your favorites will also help to reduce the message frequency. Navigate to the application, and opt to have this URL saved as one of your favorites.
-
Open an Internet Explorer window and select Tools | Internet Options.
-
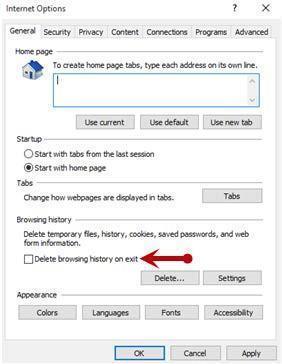
Under the General tab, in the Browsing history section, deselect the check box next to Delete browsing history on exit so that this option is disabled.
-
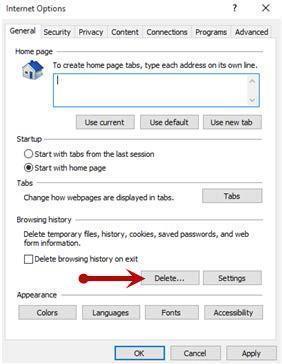
From the Browsing history section, select the Delete…option to view the Delete Browsing History window.
-
The Delete Browsing History window appears. Select the check box next to the Preserve Favorites website data option, so that this option is enabled.
-
To apply this setting, click the Delete option at the bottom of the window. The system will delete any excess browsing history, while preserving the Favorites data.
Communication Error/Failure
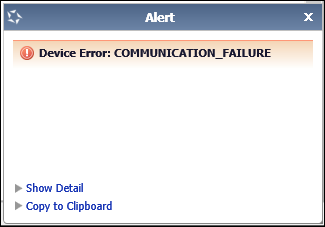
If Device Control cannot communicate with the application, you may receive the error message shown below. Before you follow the steps in this section, make sure the scanner device is connected and the power is turned on.
NOTE: If the scanner was plugged in before the device drivers were installed, you will need to verify that the scanner appears correctly in the Device Manager. If the scanner displays a yellow question mark or shows under the Other Devices category as a USB device, right-click the icon and then choose Update Driver.
-
Log out of the application and restart Device Control by using the following steps. In the bottom right corner of your desktop, select to Show hidden icons.

-
Right-click the Device Control icon and select Exit Application.
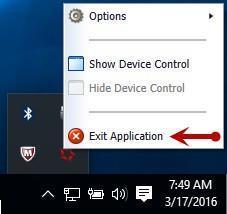
-
Log back into the application and begin to create your deposit. You should be prompted to launch the Device Control once you are on the deposit screen. Once the Device Control is launched, you should be able to scan.
-
If you continue to receive an error, log out of the application, close all instances of Internet Explorer, and restart your computer.
-
Once you have restarted the computer, log in to the application, and try creating the deposit again.
Device Error: Safety
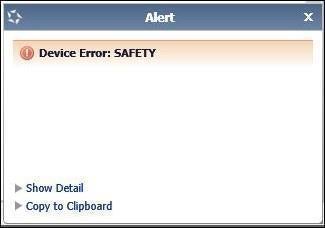
If the cover of the scanner has been removed or is not properly in place, Device Control displays an alert message as pictured below, Device Error: SAFETY. Please ensure that the cover of the scanner is placed correctly, and then retry your deposit.
Device Error for Panini Xisionx: Compression Error
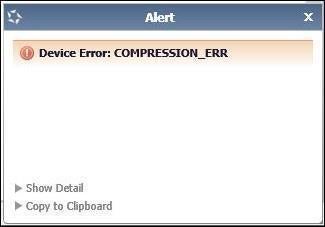
A compression error occurs when the scanner is not able to compress the image, as shown below.
-
Log out of the application.
-
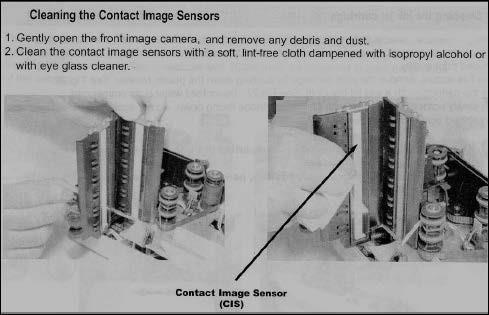
Unplug the scanner from the computer, and instruct the user to clean the contact image sensors.
-
Gently open the front image camera, and remove any debris and dust.
-
Clean the contact image sensors with a soft, lint-free cloth dampened with isopropyl alcohol or with eyeglass cleaner.
-
-
Reassemble the scanner, and then connect the scanner to the computer.
-
Log in to the application and continue scanning.
Images with Horizontal Black Lines
There are a number of potential causes for images that are streaked with horizontal black lines. Implement each of the steps below one at a time in the order presented to resolve the horizontal black lines.
NOTE: If after the completion of one of the solutions below images with horizontal black lines persist, you may opt for the next solution listed. Disconnect the scanner’s power and USB cables, and then reboot the computer before attempting the next solution listed.
Installing the latest Panini driver should fix this issue. Following the steps in the Un-installing Previous Scanner Driver Guide will walk you through uninstalling the old driver and installing the new one. If you are still receiving the black lines then continue with the power options.
Verifying Power Options
-
From your computer’s Control Panel, select Power Options.
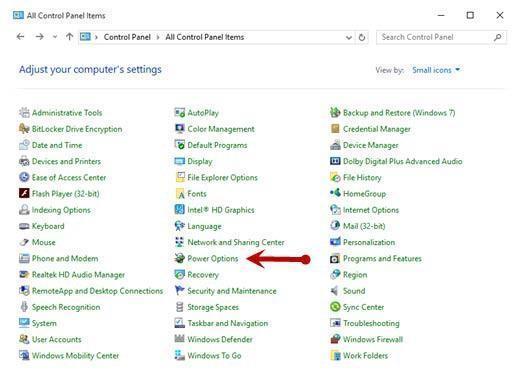
-
In the Power Options window, to the right of your currently active power plan, select Change Plan Settings.
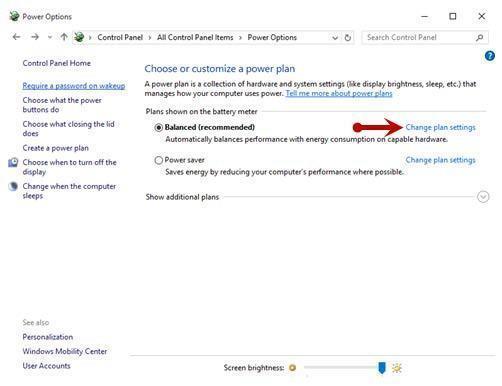
-
The Edit Plan Settings window appears. As depicted in the image below, ensure that the options are set to Never for the fields Turn off the display and Put the computer to sleep.
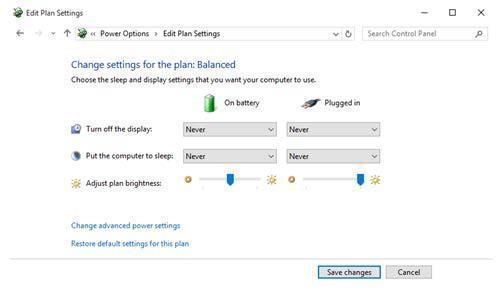
-
Navigate back to your Control Panel. From the Control Panel, select Device Manager (shown below).
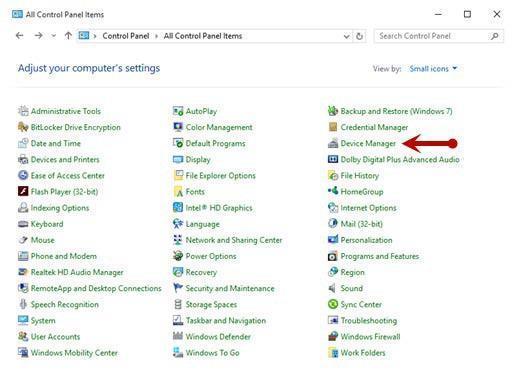
-
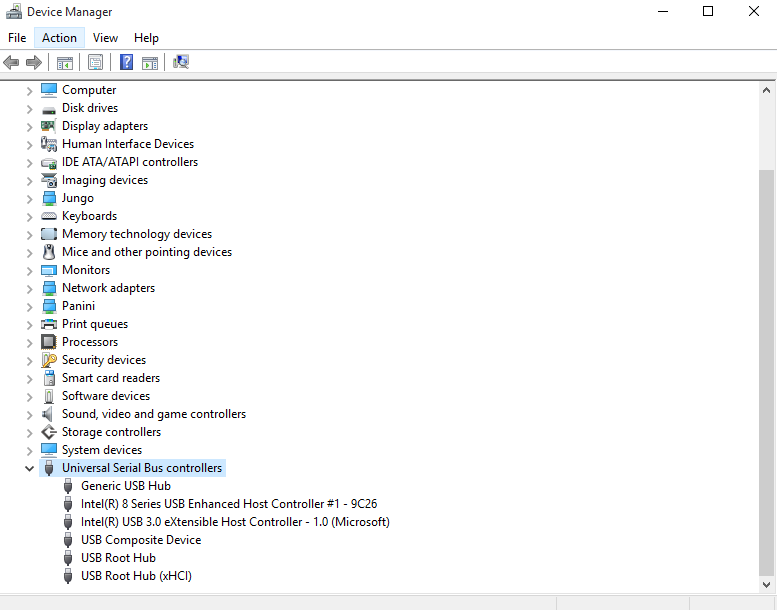
From the Device Manager window, scroll down to the Universal Serial Bus Controllers section.
-
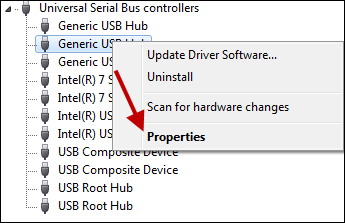
For each instance of a USB connection, right-click the option and then select Properties.
-
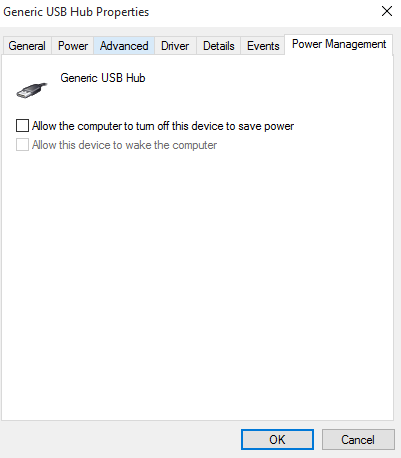
In the Properties window, under the Power Management tab, make sure the check box next to Allow the computer to turn off this device to save power is unchecked—that is, left blank.
NOTE: Ensure this option is unchecked for every instance of a USB within your Device Manager.
Terminal Not Enabled
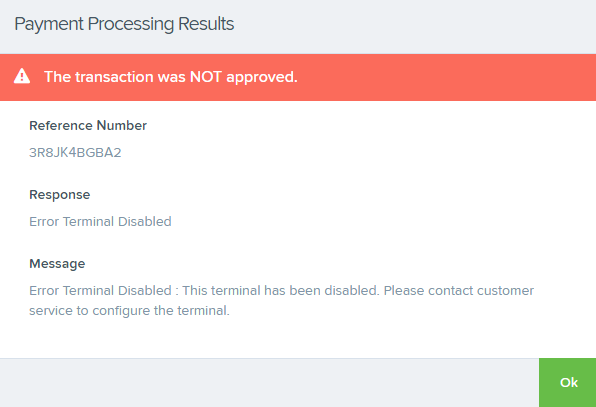
An error describing a scanner terminal as not enabled may indicate that the scanner has been disabled. The scanner will need to be re-enabled for processing to continue.

Terminal Not Set Up
If an error describes a terminal as not set up or invalid, the serial number on the scanner has either not been added or the serial number was added twice.
